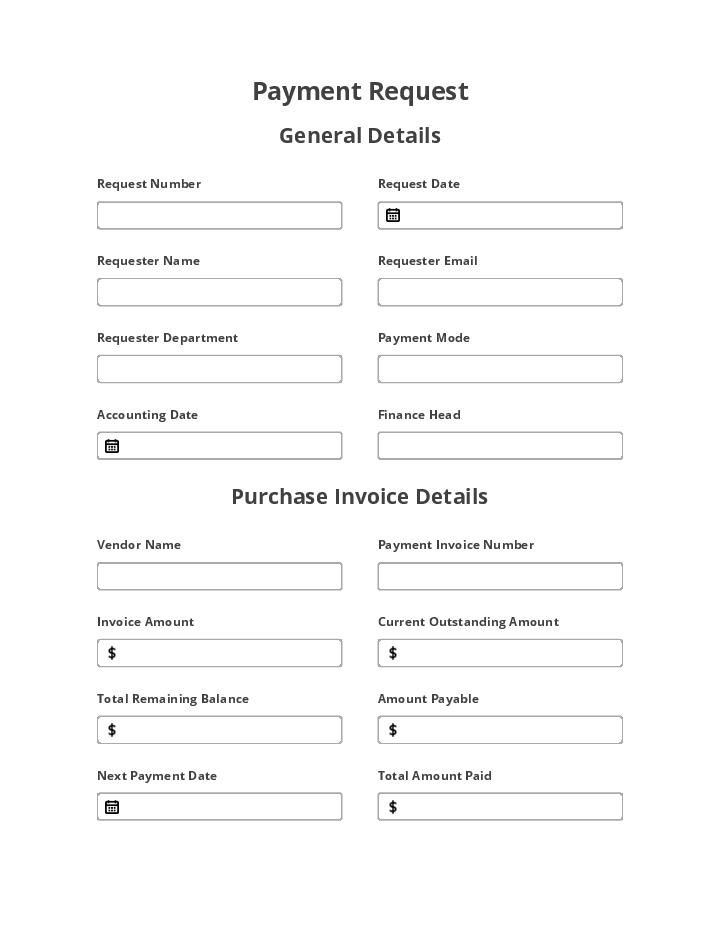
Improve Payment Request accuracy with Flow template

The Payment Request Template is used by finance and accounting departments to speed up sales and accounting processes as well as ensure paperwork accuracy. Payment request form.

Use Flow

By clicking Use Flow , you agree to the Terms of Service and Privacy Policy

Take Advantage of a Pre-Built Workflow to Automate Your Business Processes. Payment request form

By automating the Payment Request Template, companies complete payment request form routine operations ten times payment request template faster and far more accurately. Accounting specialists don’t have to money request form template waste their time on payment request template repetitive manual routines. Instead, these are done by Bots which can be configured without payment request form a single line of code. Check out the benefits you get by automating your workflow with airSlate:

  1. Collect the data you need quickly and accurately.
  2. Control access to sensitive documents and track all changes.
  3. Optimize staff working hours with logic-driven document routing.
  4. Get collected data exported to your CRM without errors and data loss.
  5. Easily collaborate with your team and edit documents in a single workspace.

The Payment Request Template simplifies accounting tasks and helps your team achieve strategic goals faster. Now you have an automated end-to-end workflow at your fingertips, and it doesn't’t require any special knowledge to get started.

Show more
intro-texture Payment Request
lines-illustrations

Save an average of 8 hours per week with an automated Payment Request workflow

Spend an average of 10 minutes to complete a Payment Request document

Show more

No-code automation, integrations, configuration and distribution of Payment Request

  • Add additional fillable fields to Payment Request

    Workflow document feature example Workflow document feature example
  • Embed fillable Payment Request in your website or distribute it via a public link

    Workflow document feature example Workflow document feature example
  • Collect payments for Payment Request

    Workflow document feature example Workflow document feature example
  • Authenticate recipients for Payment Request

    Workflow document feature example Workflow document feature example
  • Request attachments for Payment Request from recipients

    Workflow document feature example Workflow document feature example
  • Integrate Payment Request with dynamic web-forms

    Workflow document feature example Workflow document feature example
  • Auto-generate documents from data in Payment Request

    Workflow document feature example Workflow document feature example
Show more
If you believe that this page should be taken down, please follow our DMCA take down process here.

Automate business interactions with airSlate products

Deploy any business process with an all-in-one no-code automation platform.

No-code Bot automation for any workflow

Automate multi-step workflows with ready-to-use Bots, from document routing and notifications to generating documents pre-filled with CRM data.
Automation bots
Automate every step of your workflow: reminders and notifications, document population with data from other documents, assigning permissions, archiving and more.
Integration bots
Go beyond airSlate and make the CRMs and services that you already use a part of your automated workflows. Expand automation to third-party services without the need to code or pay for API integration.

Top-notch security and compliance

Stay up to date with industry-leading security standards to protect your sensitive information
Learn more about security
Security standart icon
PCI DSS certification
Payment Card Industry Data Security Standard
Security standart icon
SOC 2 Type II Certified
System and Organization Controls (Type â…¡)
Security standart icon
GDPR compliance
General Data Protection Regulation
Security standart icon
HIPAA compliance
Health Insurance Portability and Accountability Act

Check out the airSlate Academy

Learn all automation How-to’s for FREE in less than 5 hours!

Move your company procedures forward by setting up a powerful payment request template

Are you trying to find more efficient ways of managing your everyday procedures and organization transactions? Look no further than airSlate. It’s a multi-cloud, no-code service that helps increase the pace of a company’s crucial paper-based procedures and make them certified with business standards.
Figure out how to create and configure the payment request template and dramatically decrease the time you and your colleagues spend on routine duties with this guide.

How to create and set up the payment request template

  1. Register a free account with airSlate. Log in to your existing account if you’ve already registered one.
  2. Once logged in, go to the Workspace section. Decide on a Workspace to operate in or make a completely new one.
  3. In the All Templates tab, click on a new Template or launch an existing one.
  4. Add a new document by uploading one or creating one completely from scratch. You will be provided with a myriad of document editing tools.
  5. If you’re after a business- or Template-specific form(s), like the payment request template, make sure you browse the library of pre-made templates.
  6. Revise the form(s) by including fillable fields, eliminating and highlighting or annotating textual content. Set up the execution logic for each field.
  7. Assign the roles by designating every field and/or restricting access to particular parties.
  8. Put configurable Bots and improve the Template.
With airSlate, you gain more freedom to concentrate on essential duties that will push your business forward. Give it a try and begin creating your workflows without a single line of code.

Questions & answers

Here is a list of the most common customer questions. If you can t find an answer to your question, please don't hesitate to each out to us.
Need help?
Contact Support
HOW iT WORKS

How to Improve Payment Request accuracy with Flow template

Watch our quick user guide video and learn how to use the Improve Payment Request accuracy with Flow template. Our instructions show how to automate, sync, and streamline document workflows without coding.

How to Improve Payment Request accuracy with Flow template

If your profession is in finance or you're  planning to work as a financial analyst,   then creating forecasts and budget is a constant  exercise. Now, usually, this involves some form of   predicting a future value based on existing  historical values. So, it could be sales,   manufacturing quantities, or other KPIs and  trends. In today's video, I'm going to show you a   great feature in Excel that can help you create  these forecasts with just a few clicks. I'll   be calculating a quick sales forecast for Home  Depot. Sound good? Then let's get doing. Here's my data set. It's Home Depot's quarterly  sales from 2012 to 2021. They have a fiscal year   that ends on January 31st. I added the quarter  numbers in column A just to make it easier for   us. Now, our task is to create a sales forecast  for the upcoming quarters. When you get a data set   like this, it's a good idea to quickly plot this  on a line chart just to get a better overview. So,   let's highlight the date and the sales values,  go to Insert and insert a line chart. Notice   that there are lots of peaks and valleys, so  there's definitely some seasonality involved.   We can't really use some linear trend to predict  the next quarters. We need a solution that takes   the cyclicality of the historical data into  consideration. So, this is where the Forecast   sheet in Excel comes into play. It's available  from Excel 2016 onwards and this is how it works.   First, highlight the historical values  again, so I'm going to highlight the date   and the sales columns. Then, go to Data, here on  the Forecast section, click on Forecast Sheet.   This plots our data on a line chart.  Now, the blue line is our actual data   and the orange lines here are the predictions. The  middle one is the forecast and the thinner orange   lines are the lower and the upper confidence  bounds. So, if your confidence interval is 95%,   the 95% of the future data points are going to  fall between these two lines. With Forecast End,   you can select a different end date for your  forecast. You can just expand the options   and adjust your selection. In the more options  here, we get to decide when the forecast starts.   Now, I'm going to pick a date that's before  the last actual data point. This way, I get a   better idea of the forecasting accuracy because  I can compare the forecast with the actual. So,   I'm going to change this to January 31st, 2021.  The confidence interval indicates the range that's   likely to contain your estimates. So, the default  value is 95% and I'm just going to go with that.   For seasonality, you have a choice to let Excel  detect it automatically or enter it yourself. So,   by looking at the forecast in the chart, I can  already see that it did pick up the seasonality   in the data. So, we're going to leave it  on automatic.